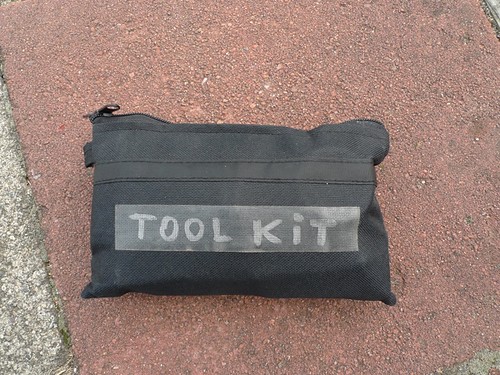
I have assembled a tool kit that I carry with me in a saddle or handlebar bag every time I ride a significant distance from home. It’s in a small nylon zip-up case that I remember buying in an art supply store. The zipper is holding up fine even though the case is stuffed to the brim with tools.
The case is about 8″ by 4″, and about 3lbs. Here is what it looks like:
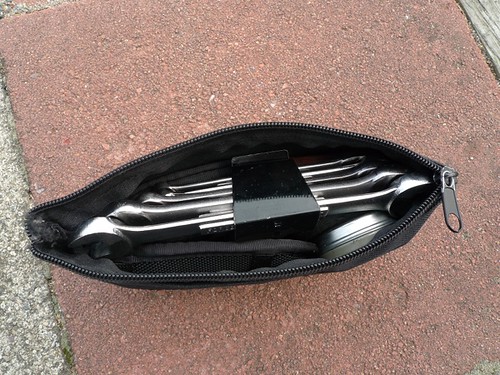
The tools inside are in individual pouches, most frequently used ones on top and rarely used stuff (like tire irons and patch kit–crossing my fingers here) on the very bottom.
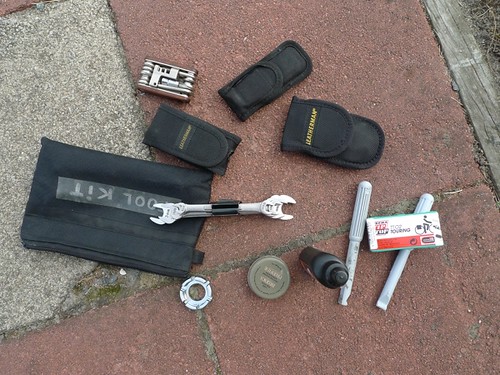
I usually know which tool I want and can get to it, but sometimes I begin by laying out the individual pouches on the ground. I haven’t had many situations where I actually had to do complicated bike repair in the middle of nowhere, but every time I work on one of our bikes in the home shop I first think about whether the job can be done with just the tools in my tool kit. Sure, the big at-home tool kit has larger and more comfortable tools (like a larger set of allen wrenches), specialized tools (headset wrenches and bottom bracket & cassette tools, diagonal wire cutters and so on), but the basic stuff can be completed anywhere. If anything, it is often the bike stand I most wish for, but you can’t put a stand into any tool kit. Here is the stuff lying on the ground:
If I extract every little tool from its case and open it up, it looks like a hardware store exploded all over the cement tiles. It’s a lot of stuff to carry with you on bike trips, but most of it is there for a reason. Here it is in all of its glory:
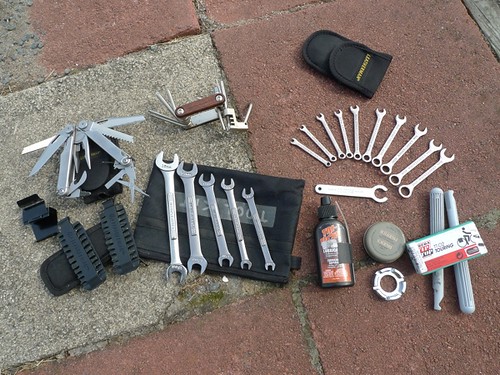
So, in no particular order:
(1) a set of 5 Craftsman wrenches: 6/8, 7/9, 10/11, 12/14, and 13/15mm. It covers the range from 6mm (small nuts in fender-mount lights) to 15mm (axle lug nuts). The set is held together by a spring-steel clip. It’s very secure and does not rattle.
(2) a set of small Craftsman mini-wrenches: 4, 4.5, 5, 5.5, 6, 7, 8, 9, 10, 11mm and a Brooks Saddle Tension Tool (specialized thin 13mm). Why do I carry an extra set of these mini-wrenches? Well, modern bikes often use an allen bolt and a metric nut, but classic bikes need two wrenches, often the same size, i.e. 2 10mm or a 9 and 10mm to tighten a brake cable straddle, some rack attachment points and many other small jobs that just cannot be done if all you have is a single metric wrench. Some people prefer to carry an adjustable wrench for this, and I have one, just not in this tool kit. A good-quality adjustable is an excellent tool if used carefully. Sometimes it is too bulky to fit into tight spaces around the bike frame. The Brooks tool is often the only thing that can properly adjust a saddle and it’s relatively small and light.
(3) an allen multi-tool: slot, philips, 2, 2.5, 3, 4, 5, 6, 8mm allen, T25 (common for disc brakes), and a chain tool. Can’t go without a chain tool, and this is a good one that has served me well. Always test a chain tool on an old chain before it’s part of your tool kit, some are crap and break before the chain does.
(4) tri-flow oil bottle, Brooks Proofide tin, 2 “Quick Stik” tire irons (you only need 1, the 2nd is a backup–this is by far my favourite tire iron solution for classic roadsters as well as vintage and modern road bikes), the contents of 2 REMA (Sheldon’s favourite) patch kits shoved into one box and a super spoke wrench ring. More about this spoke tool: many modern spoke keys don’t include large spoke gauges. This thing made by Hozan in Japan has gauges 10, 12, 13, 14 and 15. It’s the only spoke wrench big enough for the crazy motorcycle-style spokes Pashley (and I think vintage Gazelle) use on their bikes.
(5) a Leatherman Wave multi-tool with a complete set of bits that resides in its own pouch. Why do I need a heavy multi-tool with me? Well, last Spring on the Cape (miles away from home) I bought a Greenfield kick stand that needed to be shortened. The saw went through the aluminum like butter. Do you have a saw in your tool kit? I am sure you have a can/bottle opener, but what about an eyeglass repair screwdriver? There were other cases where the multi-tool saved the day and kept me safe and independent. The pliers are fairly strong, have a built-in wire cutter/stripper. In fact, I’ve installed Honjo fenders (including made the proper holes) with only the tools pictured here. At home, the bike stand, dremel, drill and bolt cutters allow the job to happen much quicker, but who knows when you’ll need to do an emergency fender installation (or do something else weird, like repair the leather straps or canvas of your saddle bag–I suppose on a long tour a heavy duty sewing kit, leather tools/awl wouldn’t hurt). Anyway, the Leatherman bit driver is a very neat way of taking every imaginable bit with you in a very small package. Here is a close-up:
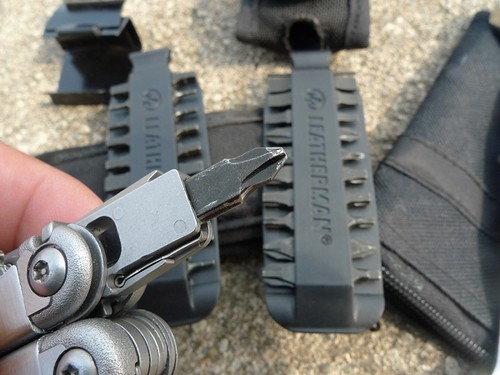
There are quite a few bits in the Leatherman kit. Here is a quick rundown: a bunch of hex/allen/torx bits in every imaginable size. These bits are flat, so they have to be used carefully. I use the bike multi-tool first, and at home I prefer to use the full size allen wrenches. But it will do the job on the road. The bit kit also has every size of slotted and philips bits, common square and pozi bits and a replacement small slotted/philips eyeglass bit. The bit kit weighs practically nothing and occupies very little space.
If a bike ride takes you far away from cities and stores, I would recommend packing several inner tubes in addition to the patch kit, also several flashlights and a lantern with batteries, replacement spokes, gaffer’s and electrical tape, and a well thought-out medical kit. I’ll write about my medi-kit in another post.
Add a cell phone + money, the best tools for getting someone to come and rescue you.