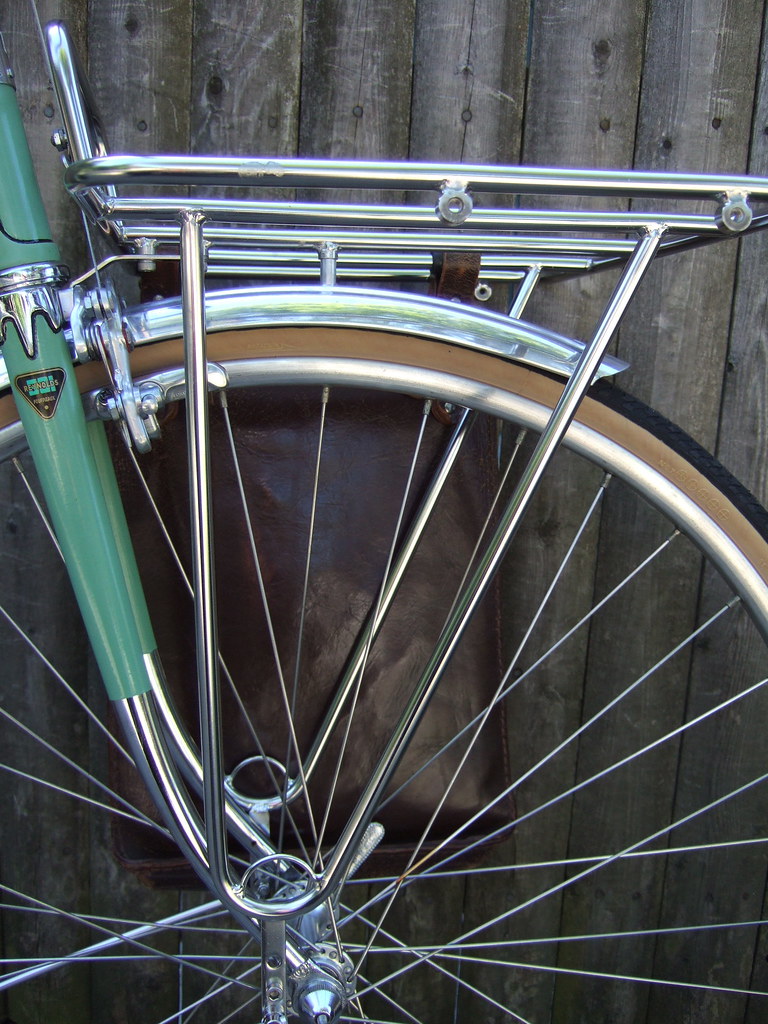
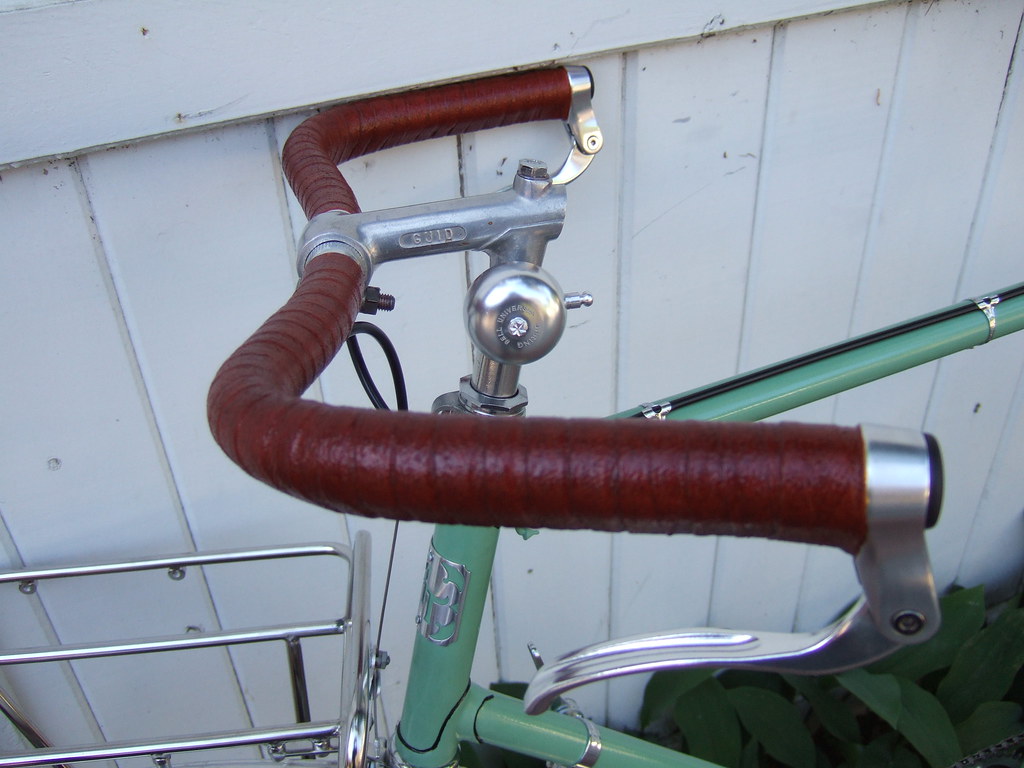
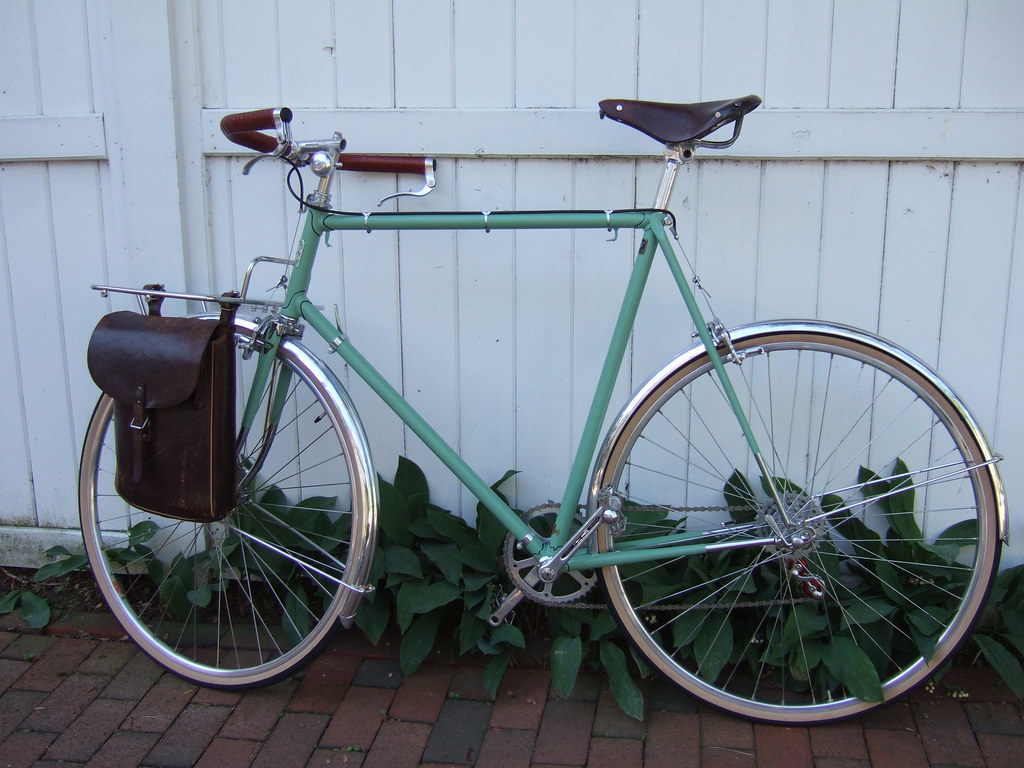
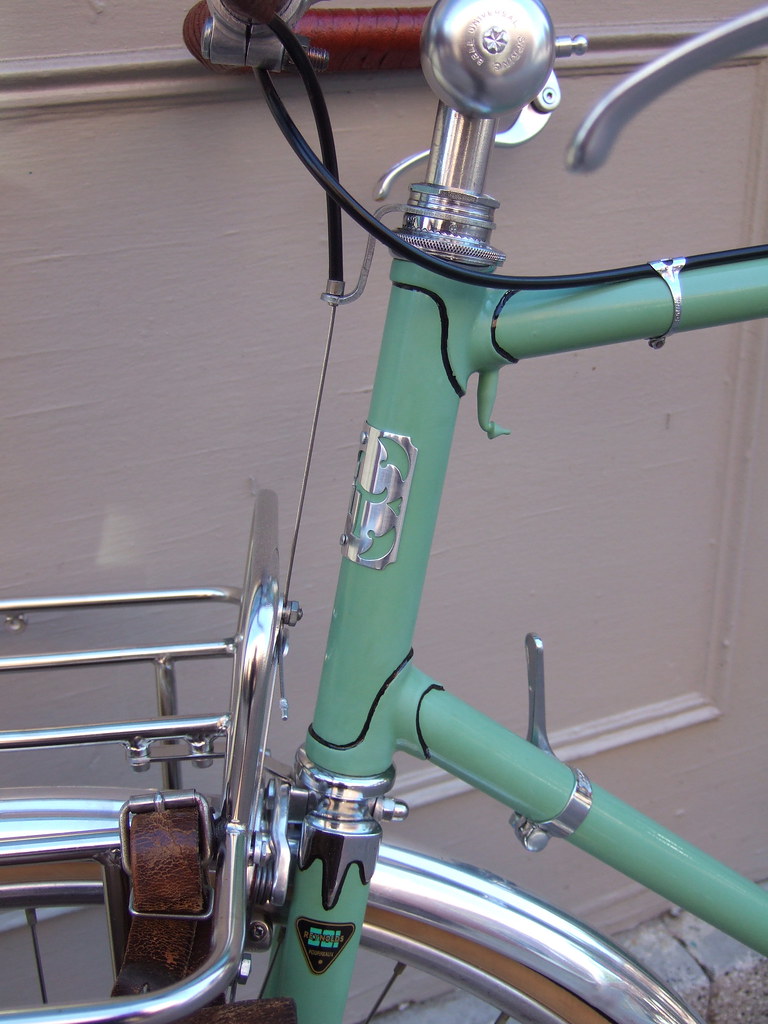
Among my favorite aspects of vintage bikes are the little accessories: the small period details designed into the peripheral parts such as chain guards, racks, fenders, and lighting fixtures. Like clothing accessories or room decor, these peripheral pieces combine to “tie together” the overall aesthetic (to paraphrase Jeff Bridges in The Big Lebowski). So when I embarked on my latest project, the conversion of an old French road bike into a porteur (the subject of a future post–it’s being built up as I write this), I began studying the finer details of the classic French bikes. What struck me was the simple, streamlined beauty of their lighting systems, particularly the headlights and taillights. Here’s a nice example of a 1950’s René Herse porteur, displaying so many of the wonderful little touches that made these bikes so beautiful:
Let’s zoom in on the taillight:

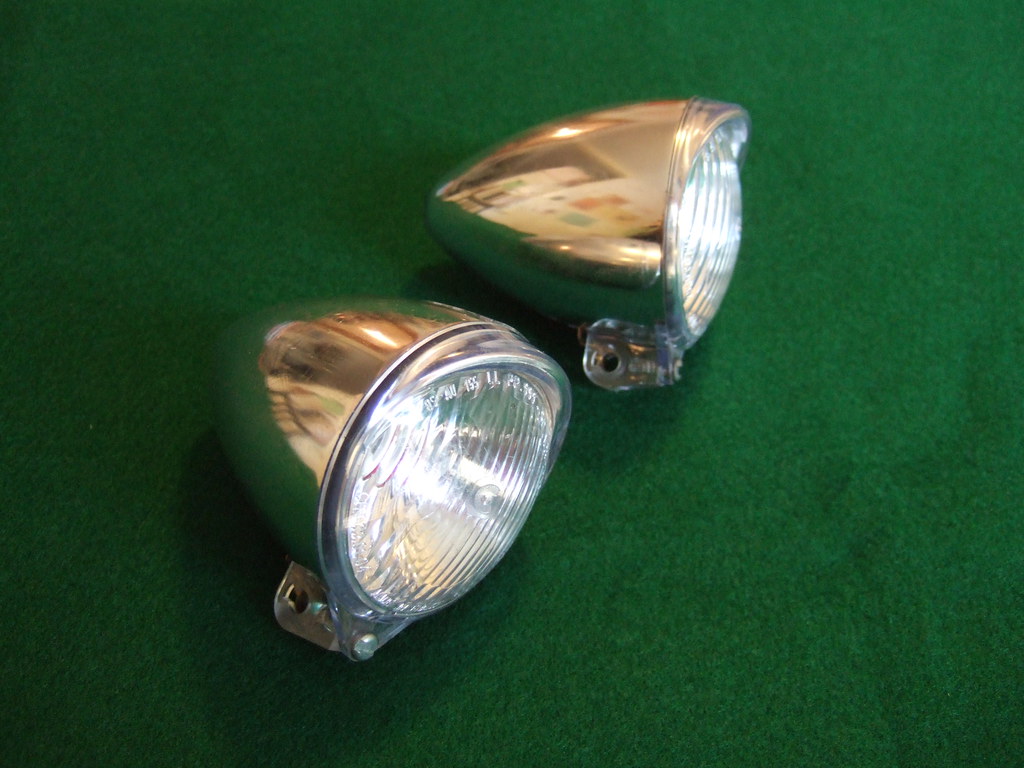
There is no bulbuous plastic housing or any part of this light that looks bulky or intrusive. Unlike modern taillights, this one is trim, compact, and mirrors the smooth curvature of the fender. Unfortunately for me, all these wonderful, old gems of lighting accessories were designed to hold regular incandescent bulbs, powered by a dynamo. Since I have no intention of incorporating dynamo lighting in my porteur conversion, I wondered whether I could retrofit a modern battery-powered LED into once of these nice old housings. Fortunately there is precedent for this type of undertaking, which I discovered from perusing this Flickr set of Vélocia, a fellow vintage bike enthusiast and DIYer. Vélocia took the housing and lens of an old Soubitez Catalux 6 taillight and retrofitted the LED mechanism from a Planet Bike Superflash. What a great idea, and in one important way, an improvement on the original: the LED is undoubtedly brighter than the original 0.6W bulb!
Fortunately, vintage French bike parts are rather abundant on online auction sites, and I was lucky enough to find a NOS Soubitez taillight shell and lens on eBay, identical to the one on the René Herse example above. Inspired by Vélocia‘s conversion, I set out to retrofit the shell with a modern LED. Here’s how I did it:
First, I needed to find an LED taillight small enough to re-package inside this petite housing. Fortunately, Sigma makes a nice small single LED taillight called the Micro, shown here next to the Soubitez fixture:
Next, I needed to remove the LED circuit board and see how it would fit inside the Soubitez housing. Would it fit? No!
I needed to do some surgery on the circuit board to make it fit. And that was not the only challenge. I also needed to remove the built-in tact switch (the part of the circuit that you press, and which gives that tactfully delightful popping sound when you press it, hence the name, “tact” switch). It’s that round disc in the center of the circuit board. In its place, I soldered two short leads, the other ends of which I soldered onto a remote tact switch mounted on the housing. Radio Shack sells these, .99 for a four-pack! Good thing, because they’re so small I lost two of them already!
Here’s the circuit board with the tact switch removed. Conveniently, the Soubitez housing has a small notch cut out of its side, presumably for a switch or perhaps a dynamo wire. Whatever the intended purpose of that notch, it’s a suitable location for a remote tact switch:
After surgical trimming of the circuit board with a rotary tool grinding wheel and soldering the leads from the circuit board to the remote tact switch, the switch was glued into place. The circuit board holds a button-type battery on the other side and couldn’t be glued in place, else the battery would not be accessible for replacement. Fortunately, the circuit board fits snugly enough without glue, and can be tilted out of the housing to access the battery. When the fixture is mounted to the fender, the fender will hold the circuit board in place. The whole circuit board and soldered leads were covered with a thick layer of clear rubber adhesive, so there’s no chance of shorting out if contacted by the fender.
The finished product (note the tact switch unobtrusively peeking through):
All that’s left is to figure out how to mount this baby on the fender– the subject of a future post!
 There is a nice article in the Boston Globe today about the local popularity of vintage 3-speeds. It mentions the Boston Retro Wheelmen, as well as other vintage bicycle resources in the area – including the Boston 3-Speed Club, Boston Tweed, Old Roads, Chic Cyclist, and Lovely Bicycle. Though I did not exactly say the quotes attributed to me in the manner they are phrased (I am not a part of “the slow movement” and I did not get a bike in order to “look good in the saddle”), I am pleased with the focus on vintage 3-speeds and with the recognition of their cultural significance in the Boston area.
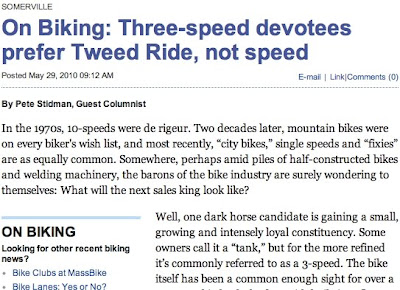
 En route to any of my daily destinations in Cambridge, Somerville, and Boston, I easily see dozens of vintage 3-speeds along the way. It never occurred to me that this was a special feature of our city, until I began to receive incredulous comments from readers in other parts of the country whenever I would post pictures of locally spotted 3-speeds. Why are there so many of them in Boston? Where are they coming from? These are questions I receive regularly from readers of Lovely Bicycle. I think the answer is in the history of Boston as both importer and manufacturer of bicycles for part of the 20th century, and I am hoping to post a well-researched article on this soon.
 As for why so many people are buying and restoring vintage 3-speeds today? From my point of view, it is because they are simpler and more enjoyable to ride than most other bikes out there. This is a great secret that only a vintage 3-speed owner can know!