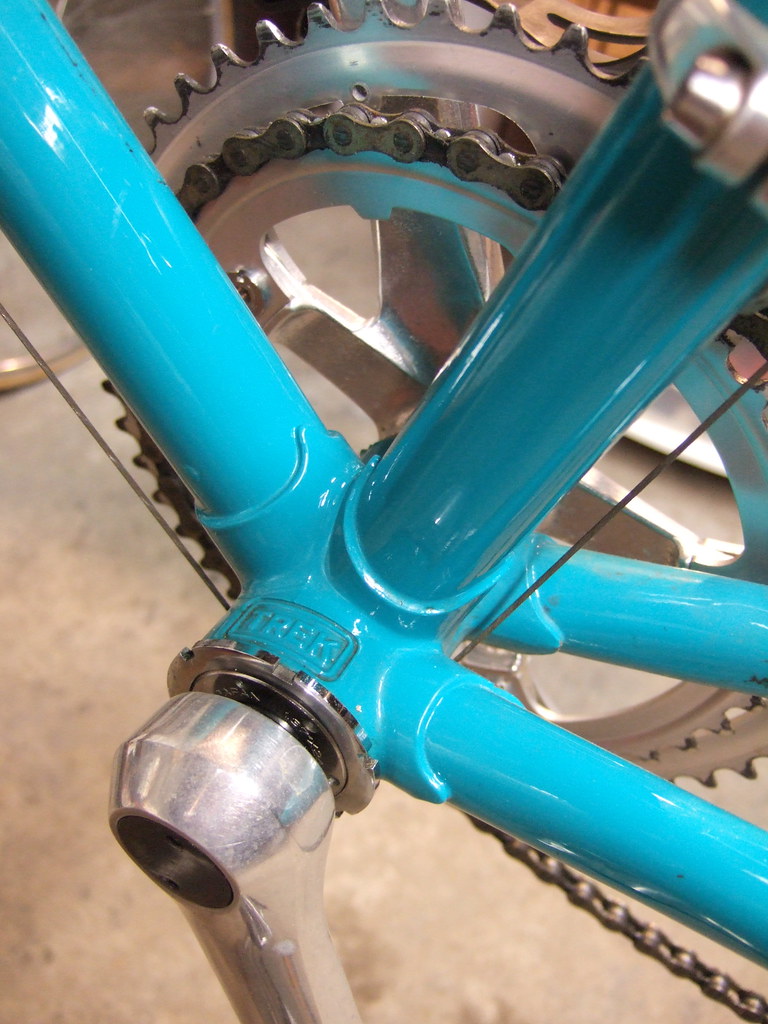
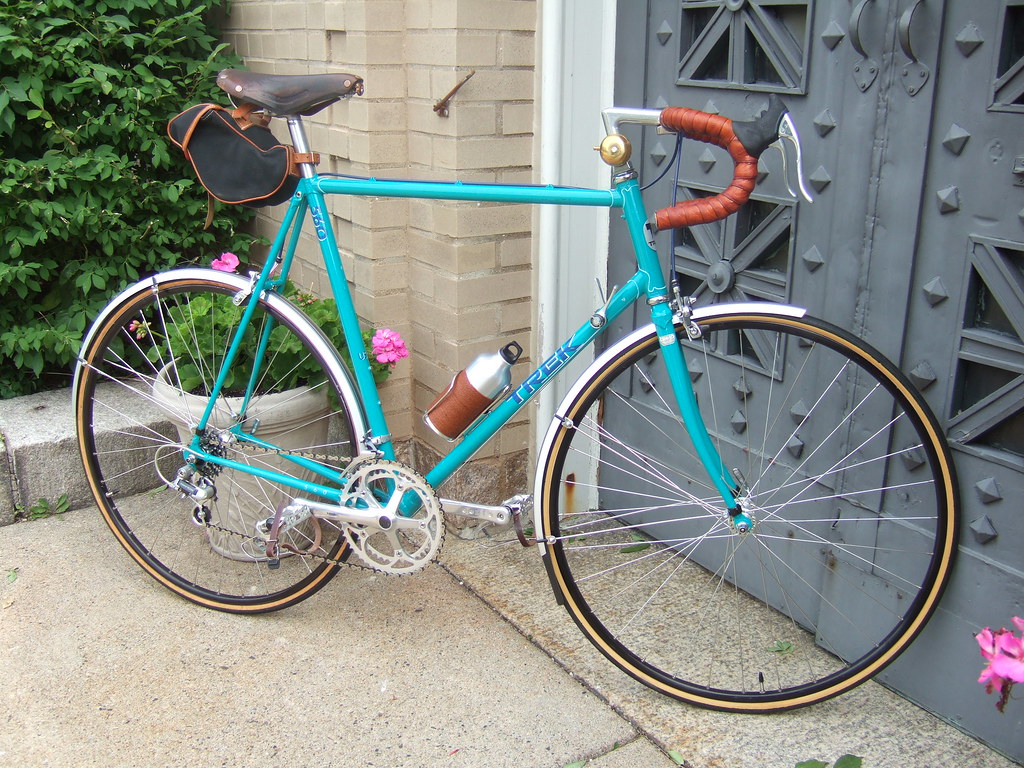
Most bikes are designed with provisions for installation of “extras”, such as racks, fenders, and bottle cages. This usually means small threaded bosses brazed onto the frame at carefully chosen locations. Touring bikes, which are designed to be ridden long distances loaded up with everything the rider needs to be self-sustaining for days, weeks, even months, usually contain braze-ons for just about everything: racks front and rear to hold camping gear, fenders to keep the rider and bike clean in wet weather, frame pump, multiple bottle cages, etc. However, not all bikes are designed to accommodate all types of accessories. For example, a city bike may not have threaded bosses for bottle cages or braze-ons for a frame pump. Conversely, a racing bike will have provisions for at least two bottle cages, and most likely a frame pump. But since racing bikes are designed to be as light and fast as possible and not carry luggage, they usually lack provisions for racks and fenders. I have such a road bike, a 1988 Trek 560:
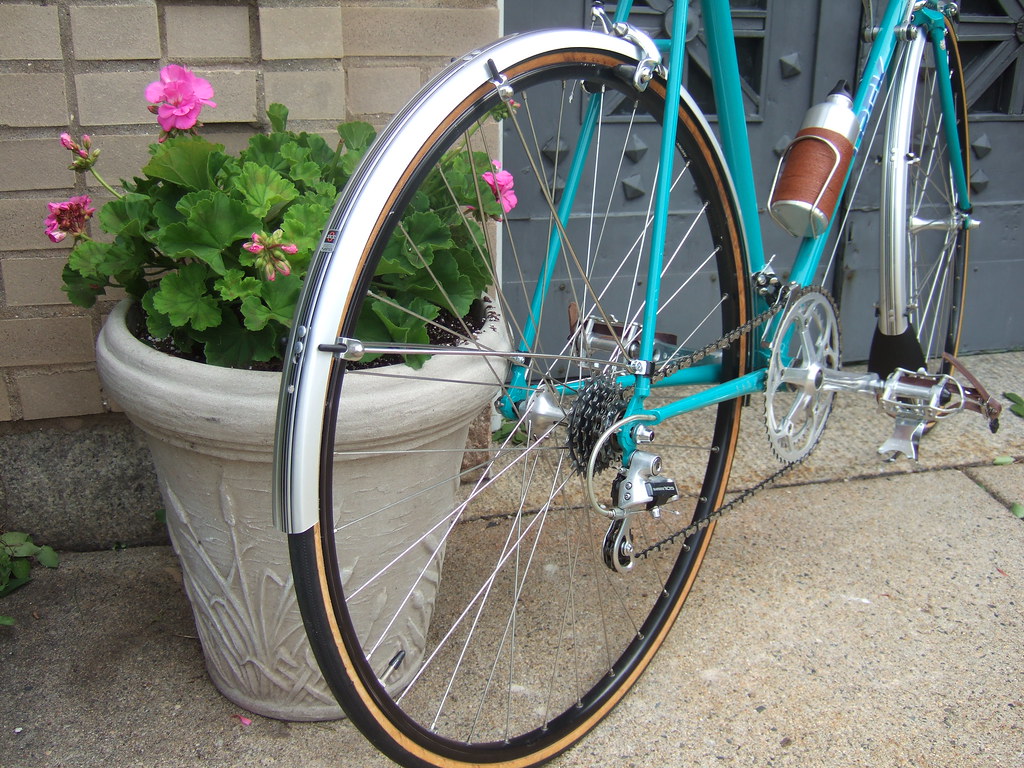
But I’m also a firm believer that all bikes should have fenders, and I was determined to get this bike appropriately clad. When I started researching my fender options, I found that some companies like Planet Bike and SKS sell ready-made solutions for bikes not designed for fenders, including “clip-on” fenders. However, all of these designs leave something to be desired. Either the mounting schemes seem weak or crude, or the fenders lack “full coverage”, i.e., they don’t span the full arc length of a standard fender and only provide limited protection from water spray. I wasn’t pleased with any of these options. So, I decided to “force” fit a conventional set of full-coverage fenders onto my bike.
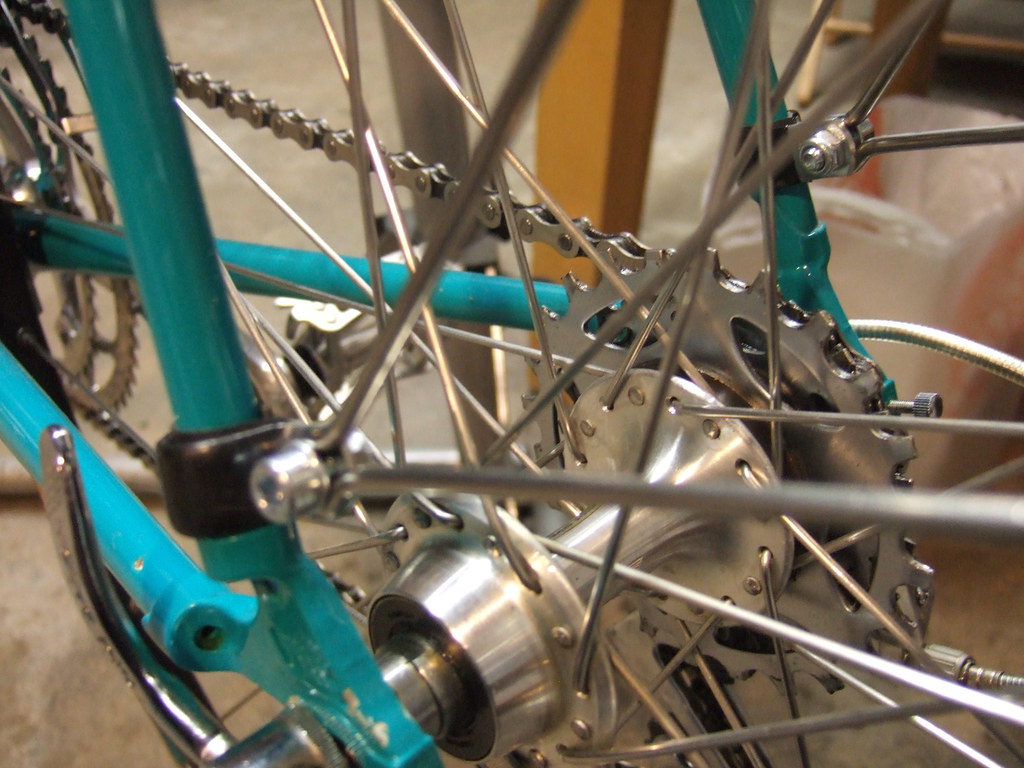
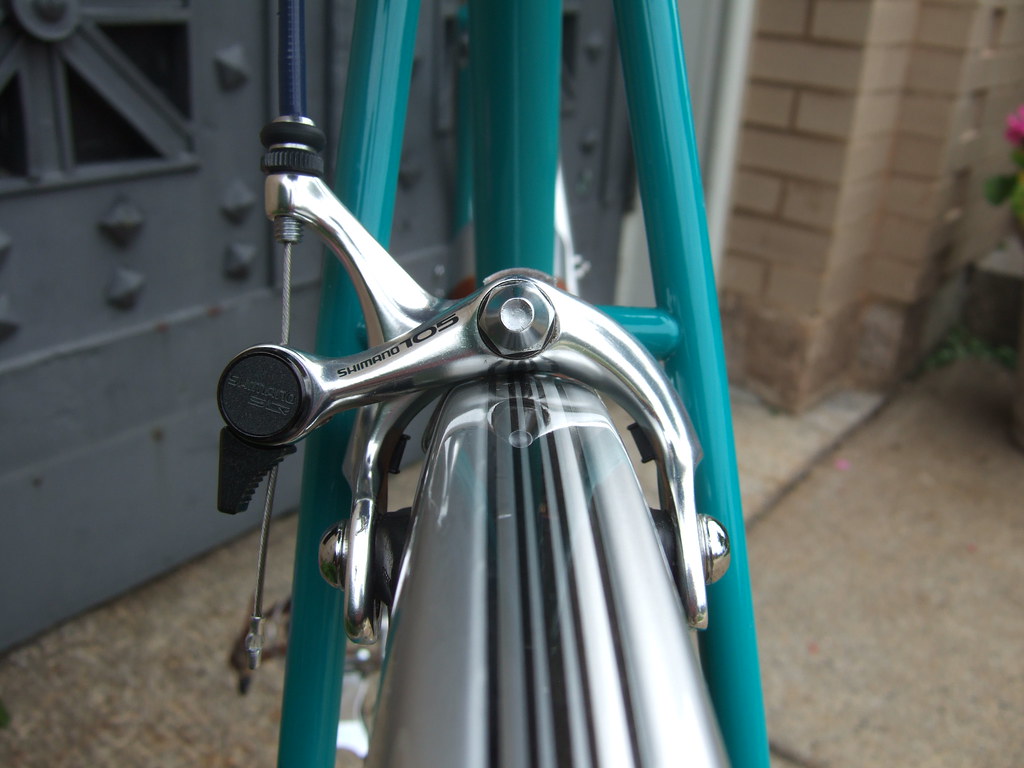
After measuring the clearances at critical locations on my bike, I decided that the bike actually could fit standard road-sized fenders, i.e., 35mm wide fenders designed for road bikes with tires up to 28mm wide. The tires on my Trek are 25mm wide, and there is enough clearance under the brake calipers for the fenders to fit. What the bike lacks is threaded eyelets on the dropouts, and a chainstay bridge. Examples of these are shown below:
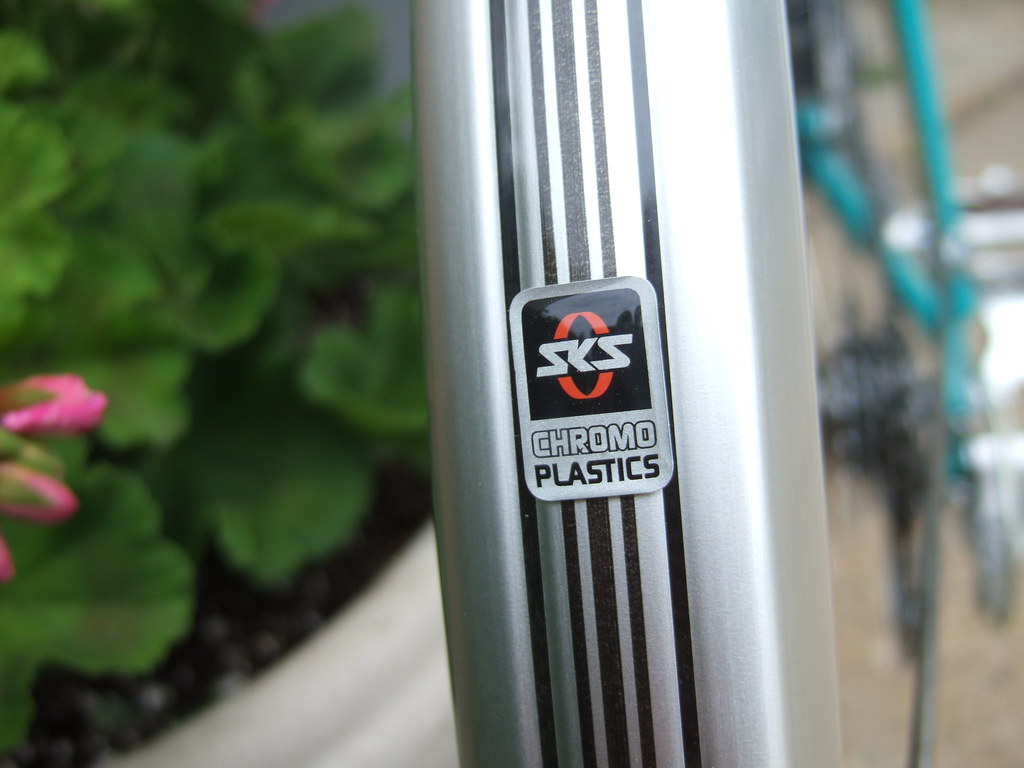
The chainstay bridge is necessary to support the front, or bottom, end of the rear fender, and usually contains either a threaded boss or a hole drilled through it to accommodate a bolt with which to anchor the fender. So, I was going to have to fabricate solutions to these two deficiencies. I’ll return to this later. For now, my next step was to choose a set of fenders. I wanted a set that would provide full coverage but also have a look befitting the bike. The Trek 560 has a nice lugged steel frame of classic proportions, but is not quite vintage. I felt that fender offerings from my two favorite brands, Honjo and Velo Orange, were a little too classic for this bike. I wanted to find a set of fenders that had a clean yet modern look that would complement the Trek’s contemporary black anodized rims. Planet Bike has a nice line of fenders called Cascadia, which are available in a nice satin aluminum “chromoplastic” finish. SKS has a similar chromoplastic line of fenders. After reading reviews of both and finding a fantastic deal on the SKS fenders, I opted for the SKS. As a side note, the screaming deal I got was from an online seller in the UK (due to the weakening pound). The SKS fenders sold there are actually nicer than the ones sold in the US– they include a really large front mudflap! So I got the nicer UK version for less than the US version.
So, back to solving the problem of not having threaded eyelets or a chainstay bridge. Of these two obstacles, the eyelets are the easier to overcome: P-clamps are a widely used and proven substitute for eyelets. They are inexpensive, and stocked by most bike shops. They wrap around the fork and seatstays, and the fender stays bolt to them. You can buy them with a rubber coating so they won’t mar your bike’s paint. After measuring my fork blades and seatstays, I determined I needed 9/16″ clamps for the front, and 3/8″ clamps for the rear.
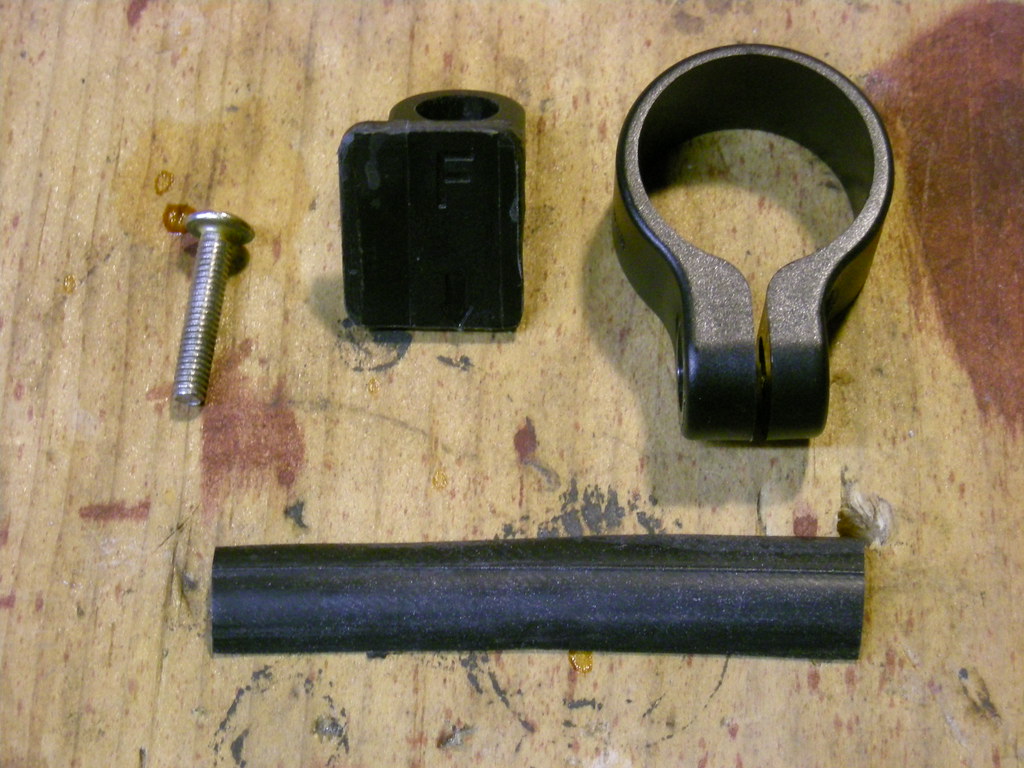
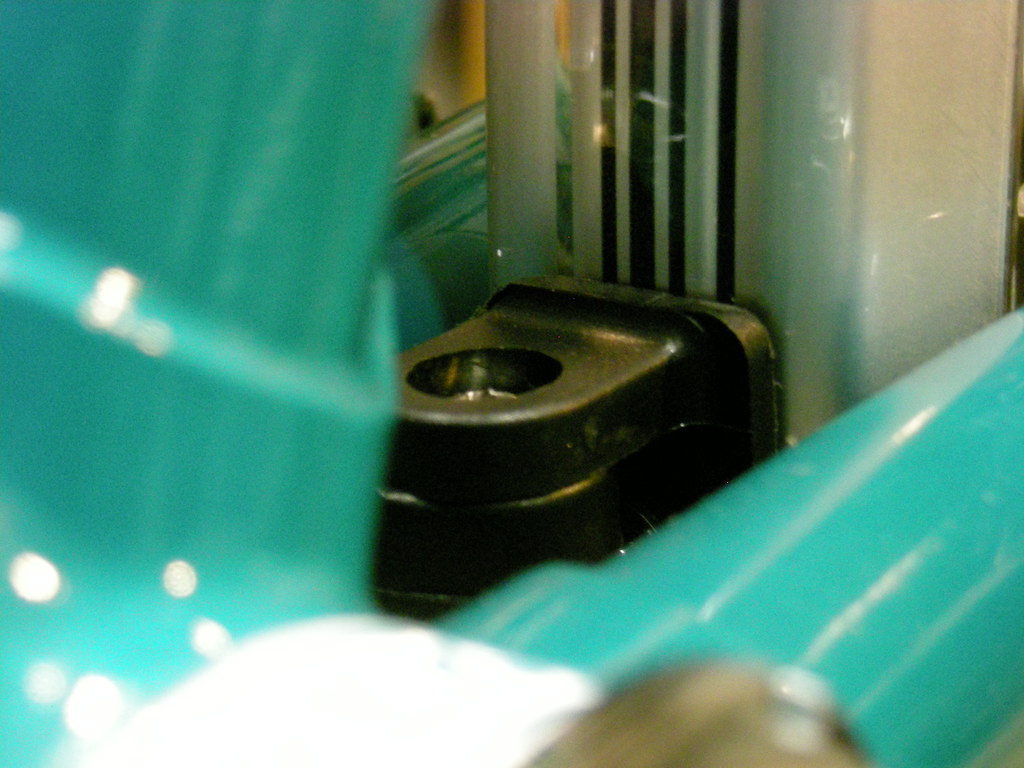
The lack of a chainstay bridge proved more challenging. At first I thought I could use two P-clamps, one around each chainstay, with a hollow tubular aluminum spacer spanned between them. In effect, this would create a bridge. But this seemed awkward and cumbersome. Next, I thought I might be able to use just one P-clamp around one of the chainstays (probably on the driveside chainstay, which would be less noticeable, hidden by the chainring). Then I could make a small metal “L” bracket to connect to the P-clamp on one end and to the fender on the other. But then, I imagined it would look hacked and crude at best. Then I thought about how LED headlamps and taillamps are mounted, and I realized that it’s often a variation of the P-clamp method. The difference being, that attached to the clamp is another plastic piece that attaches to the light and pivots to allow it to be properly aimed. Hmm… could a headlamp mount be the perfect “adapter” piece to secure the rear fender via the chainstay? It seemed like it could look very clean if done right. As it happens, I had amassed a stockpile of surplus mounting hardware from all the LED lights I’ve had over the years. Time to raid my parts boxes! I found a seatpost mount from a Planet Bike blinky, and discovered that it fits almost perfectly around the chainstay (it was a little big, so I cut a piece of an old inner tube to use as a shim). I trimmed the piece that attaches to the light, and this is what I ended up with.


